
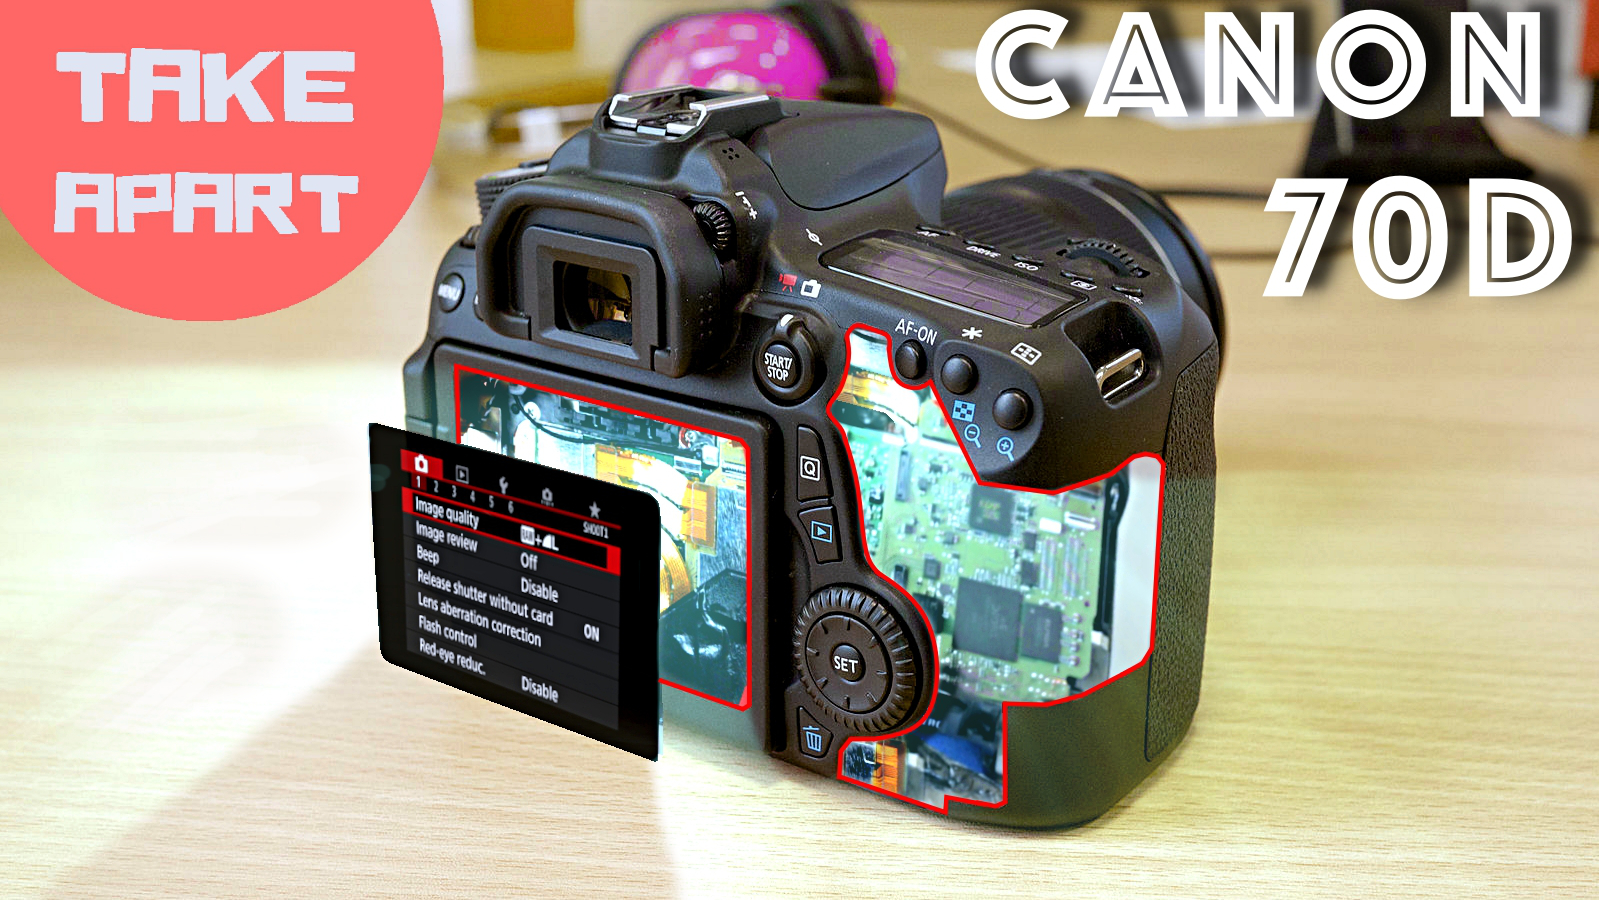
Canon 70D won’t turn ON? here is my tutorial on replacing mainboard of this popular DSLR crop sensor camera.
My camera vas used mostly for video and that is probably reason of the damage, canon didn’t installed proper cooling for chips on the main board and they basically burn them selfs to death.
back in time when video bellow was created canon charged hundreds of dollars for repair and it wasn’t my cup of tea, so I decided to do it my self . NOW after thousands of views CANON recall some of their 70D for repair for free. (you must meet some criteria to be able claim this)- for rest of you follow tutorial …
to kick this I need to mention the replacement board is tough one to get … you can get it from china but they are mostly used so you never know what you get . I ordered quite a few parts and I can recommend sellers from china with quality parts. (parts links are on the end).

lets start …EYE piece just squeeze and slide UP , underneath are two screws for back panel of canon 70d so go ahead and unscrew them.

on the bottom are 5 screws you can unscrew them all however only 3 rear ones are for back panel.

now the scary part…in order to remove back panel you must unglue the rubber grip on right and left side of the camera. don’t worry glue will stay on grip from inside – it can be reused. and it will hold as before . under rubber are 4screws you need to unscrew only two for back panel.

and mentioned left side of the camera hiding screws under rubber grip too.

remove battery door

and wiggle back panel until it pops out …

be careful as two cables are waiting to be disconnected , one ribbon with classic lock connector and second is classic wired with pop steel connector.

this black tape suppose to transfer heat from cooler …obviously its not working.

lets go to some connectors this Y shape ribbon cable is for CMOS sensor so gently pop all 3 connectors .

and now some more connectors – they all different size and style . red color ones are connectors on top easy to access . green color ones are connectors hidden under ribbon cables going to red color ones. and last red circle is fiber cable connector .

now we can move on the screws holding motherboard … these 3 screws holds steel plate covering chips too.

then we have some screws around so go ahead and unscrew them all

motherboard can come out now half way as there are 2 more connectors on back side of board – they are larger but cable length is short so it will be harder to put them back but I believe you can manage that.

congratulation you have successfully removed the motherboard from canon 70D now follow steps backwards and you will install new motherboard in .
please note: with used motherboard from china or anywhere else your camera will not show remaining shots on top display (it will show 999 all the time regardless of SD card capacity). also with brand new motherboards not installed by canon – your camera will be always powered ON even with power switch OFF. something like standby mode. in case of brand new motherboard you gone need to visit authorised canon repair centre to set new motherboard up.
parts list:
Canon70D MotherBoard:
http://s.click.aliexpress.com/e/JEEaeYV
Canon 70D sensor:
http://s.click.aliexpress.com/e/aAURjAq
70D shutter box : http://s.click.aliexpress.com/e/aUbmmI2
motherboard: http://s.click.aliexpress.com/e/uJ6EyvF
set of screwdrivers: http://s.click.aliexpress.com/e/yrrVJ62
70D motherboard: http://s.click.aliexpress.com/e/uJ6EyvF
canon 70D: http://s.click.aliexpress.com/e/bAmEeYF
camera case 70D: http://s.click.aliexpress.com/e/uJamUNr